
How to Import Files into AWS S3 and S3 Compatible Storage Using a URL
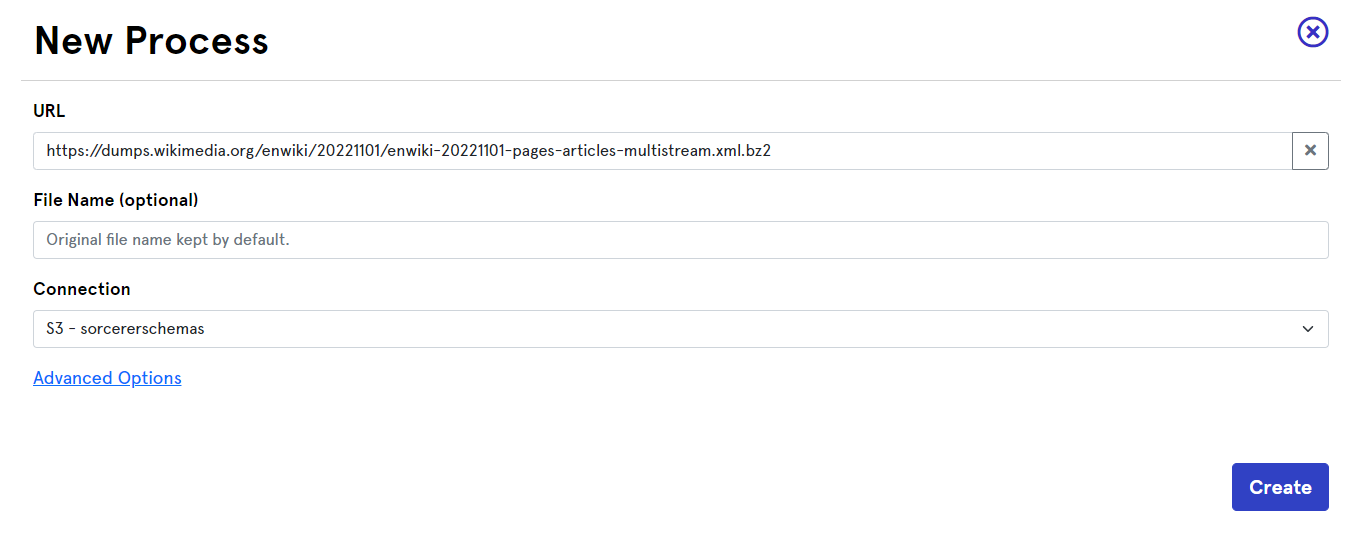
Have you ever needed to download a URL directly into your S3 bucket and don't want to worry about using an external API? We have a solution for that.
Requesting files from the web and transferring them into cloud storage can be easy however, if you have done it at scale it can be annoying. Luckily here at Sorcerer, we have built a solution. Sorcerer works with most S3 compatible storage solutions so you can click one of the links below to view the quick rundowns of how to integrate those platforms.
AWS S3
First, let's set up a new user. Sorcerer does not need full access to all of your AWS services, so a new role will need to be created and added to the user to restrict its permissions. Head over to the IAM Management Console and click on the Policies tab.
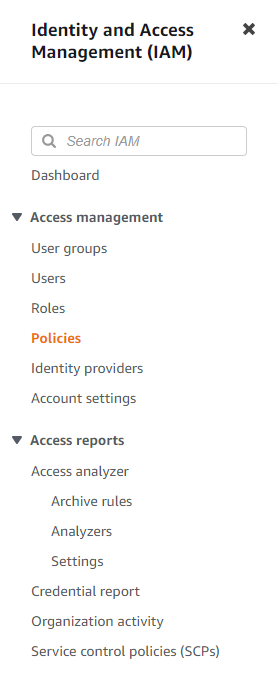
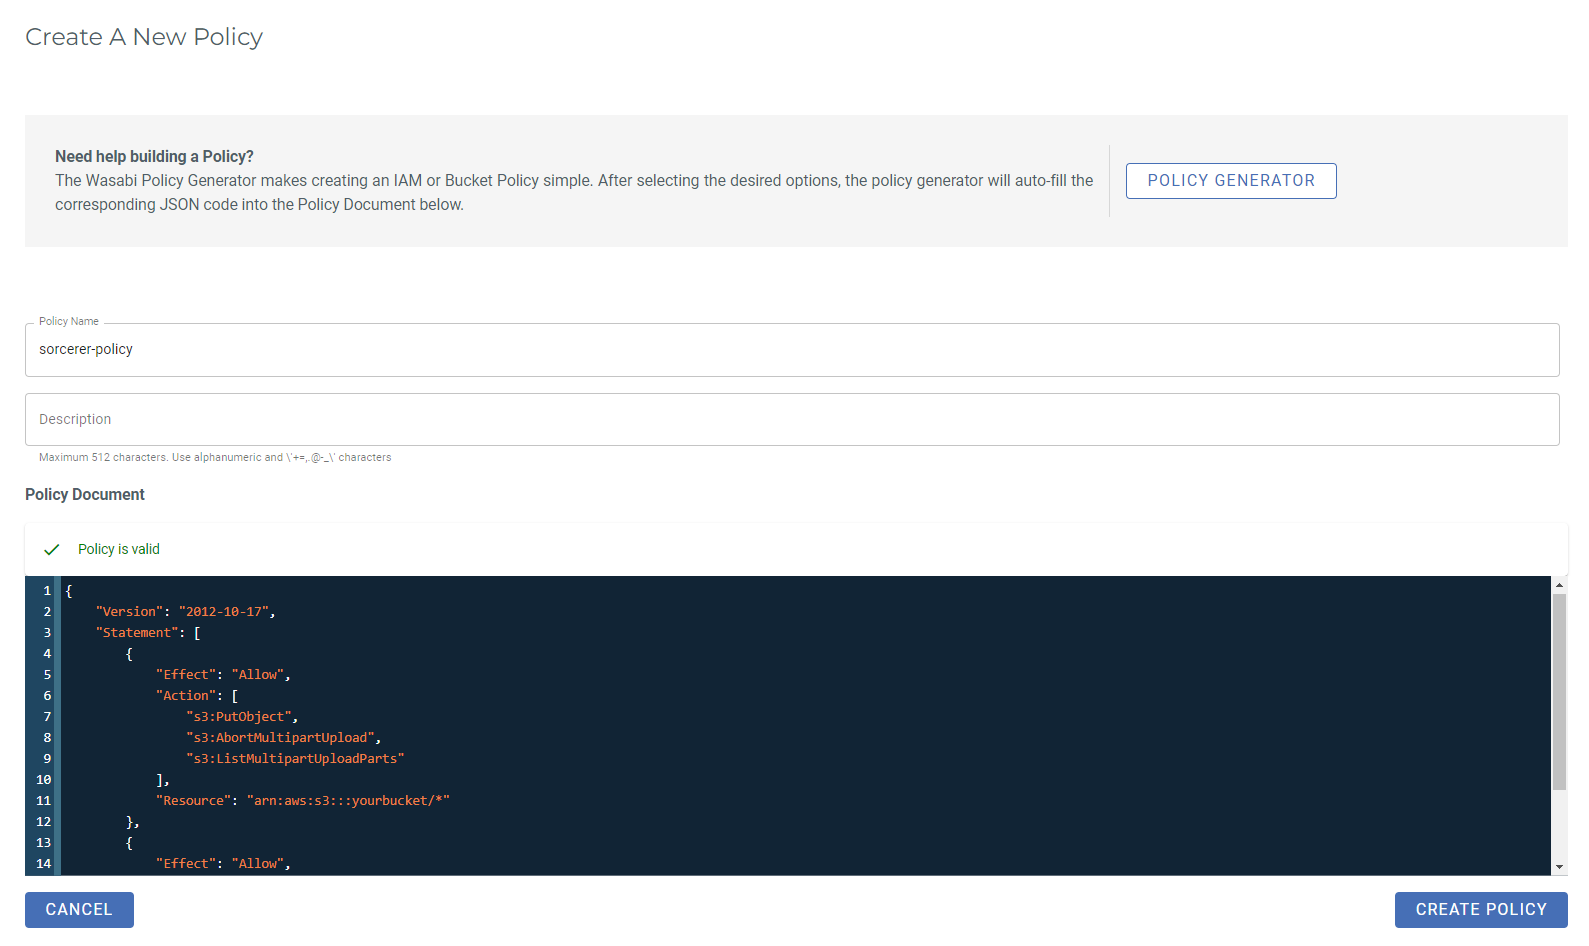
Click on the create policy button at the top right so that we can create a custom JSON policy. The ideal policy is written below and it contains all the necessary permissions to upload files. Once the policy is created, name it something you will remember for later such as "sorcerer-policy".
{
"Version": "2012-10-17",
"Statement": [
{
"Effect": "Allow",
"Action": [
"s3:PutObject",
"s3:AbortMultipartUpload",
"s3:ListMultipartUploadParts"
],
"Resource": "arn:aws:s3:::yourbucket/*"
},
{
"Effect": "Allow",
"Action": "s3:ListBucket",
"Resource": "arn:aws:s3:::yourbucket"
}
]
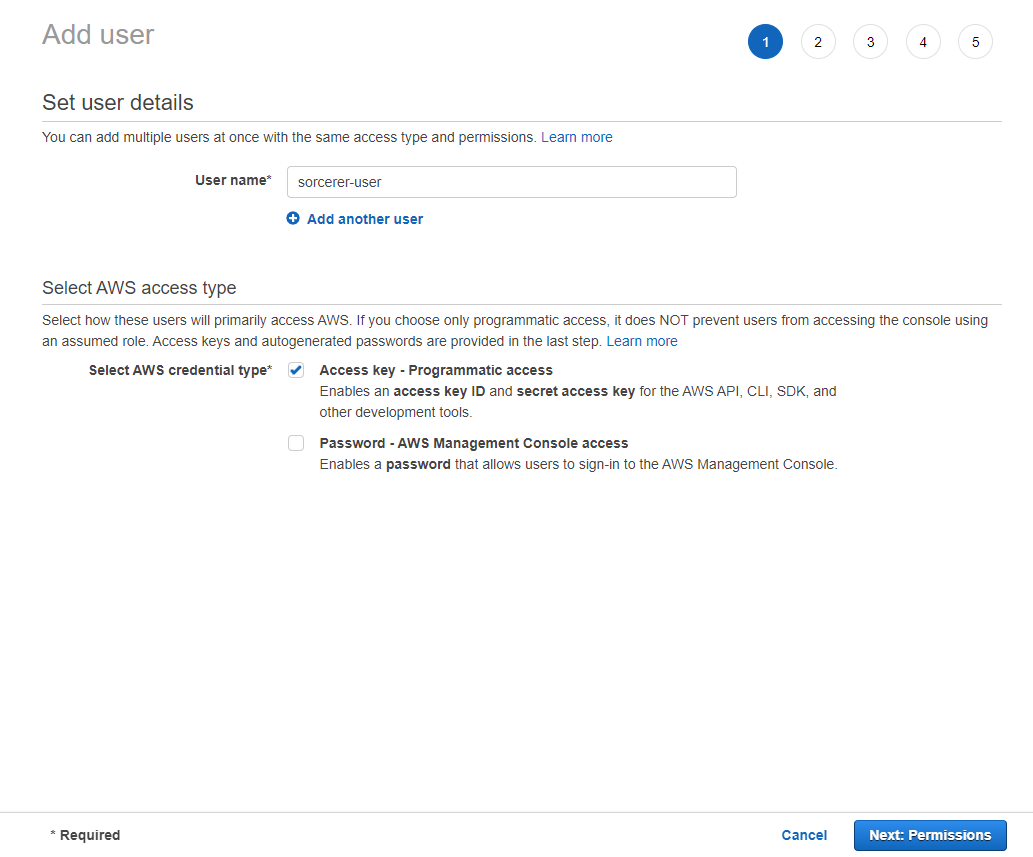
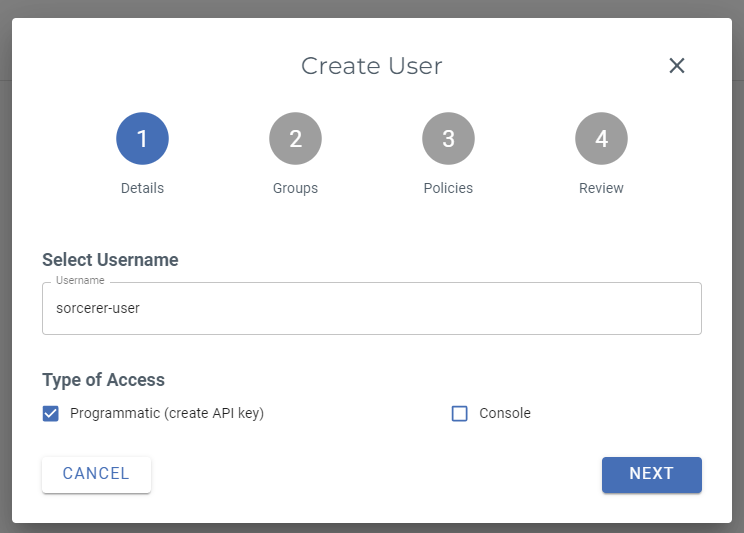
}Now, we will have to create a new user. Go to the users page and click on the "Add users" button. Once here, give the user a cool username such as "sorcerer-user" or "stephen-strange". For the AWS credential type, click on Access key - Programmatic access.
Next, we will have to attach the custom policy we created above. I hope you remembered the name!
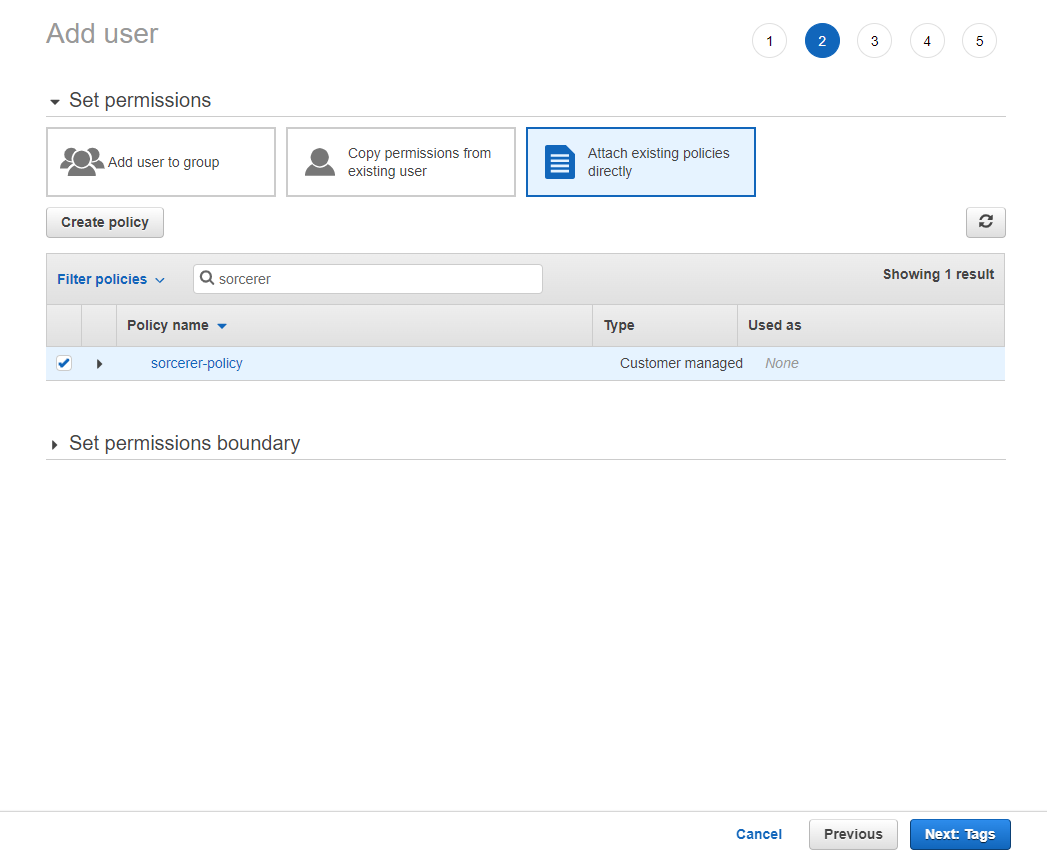
Now that the policy is attached, finish creating the user and copy and save the access and secret key.

These keys will be inputted into Sorcerer's connection creator. Remember to properly select the region your AWS account is based in.
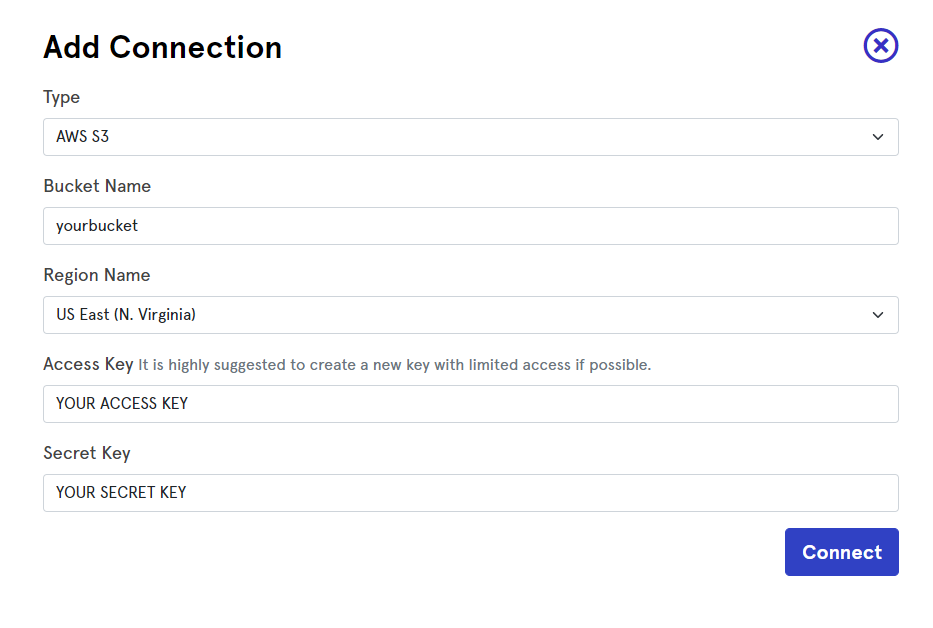
You are now set up to transfer files from a URL into your S3 bucket using Sorcerer!
Backblaze B2
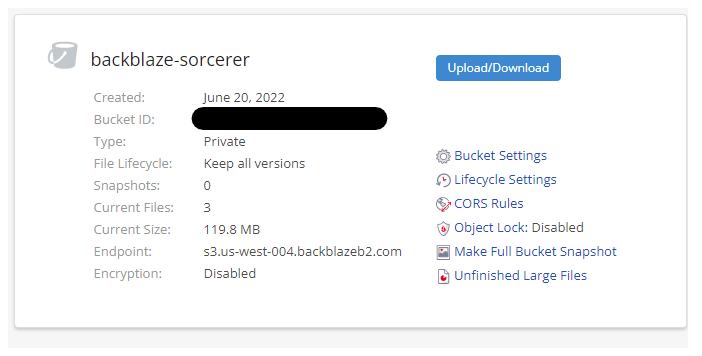
We must first create a bucket at Backblaze's dashboard. Afterwards, save the bucket endpoint.
After creating the bucket, head over to the App Keys page and click on the "Add a new Application Key" button. We currently only need write access and make sure it only allows access to the specific bucket you created.
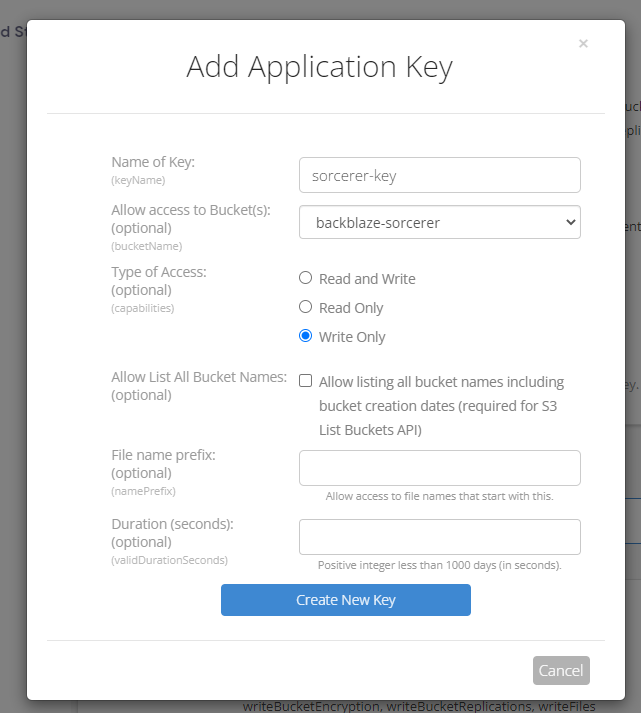
Save the credentials and use them to build a new connection. Don't forget to provide the endpoint URL in the connection form.
Cloudflare R2
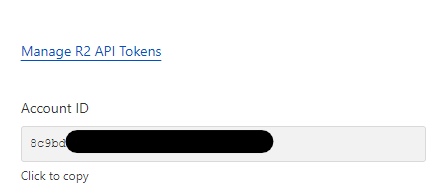
After creating a bucket in Cloudflare's dashboard, add a new access token in the R2 dashboard at "Manage R2 API Tokens". Save the tokens and copy your account ID for use later. Paste the credentials into Sorcerer's connection builder.
DigitalOcean Spaces
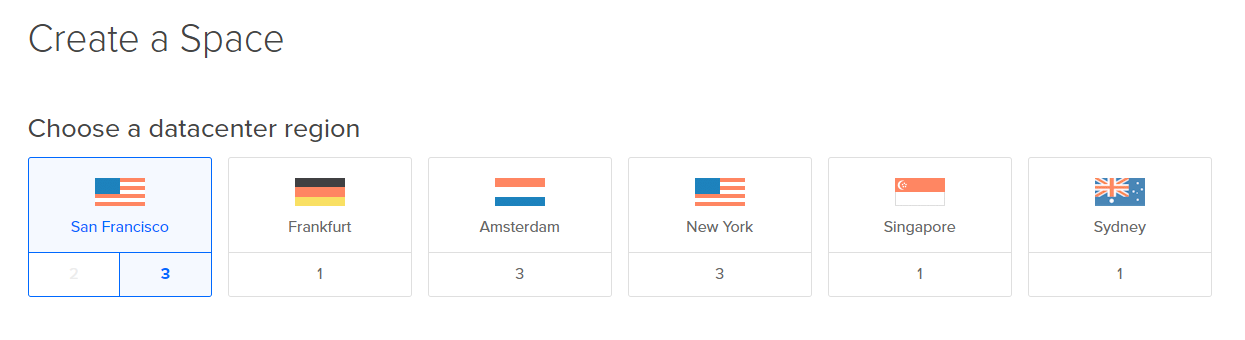
Create a Space at the Digitalocean Spaces dashboard. Make sure to remember the datacenter region you selected as it is necessary to integrate Sorcerer with DigitalOcean. After creating the Space, head to the "Manage Keys" page. Click on the "Generate New Key" button to create a new access and secret key. Once that is setup, create the new connection by inputting the keys, region, and Spaces name.
Storj
In the Storj dashboard click on the "Access" tab and then "Create S3 Credentials".

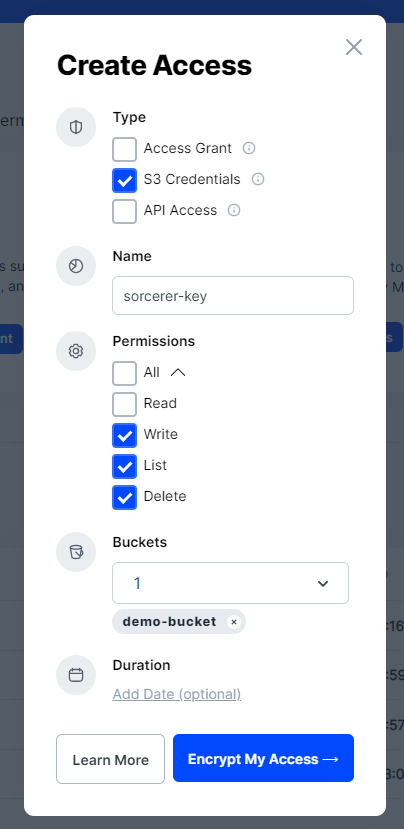
Make sure that the token has delete and list permissions so that Sorcerer can abort failed downloads. We suggest restricting the token to only the necessary buckets. You can further add an expiration date to the access key for even more restricted access. Afterwards, save the tokens and endpoint and input them into Sorcerer's connection builder.
Wasabi
If you use Wasabi, go to the dashboard and create a bucket. Don't forget to save the bucket name and region. Next, go to the Policies page to create a new policy that will limit access only to the created bucket. Name the policy something generic such as "sorcerer-policy" and the JSON document will be exactly the same as the one we created earlier for AWSS S3.
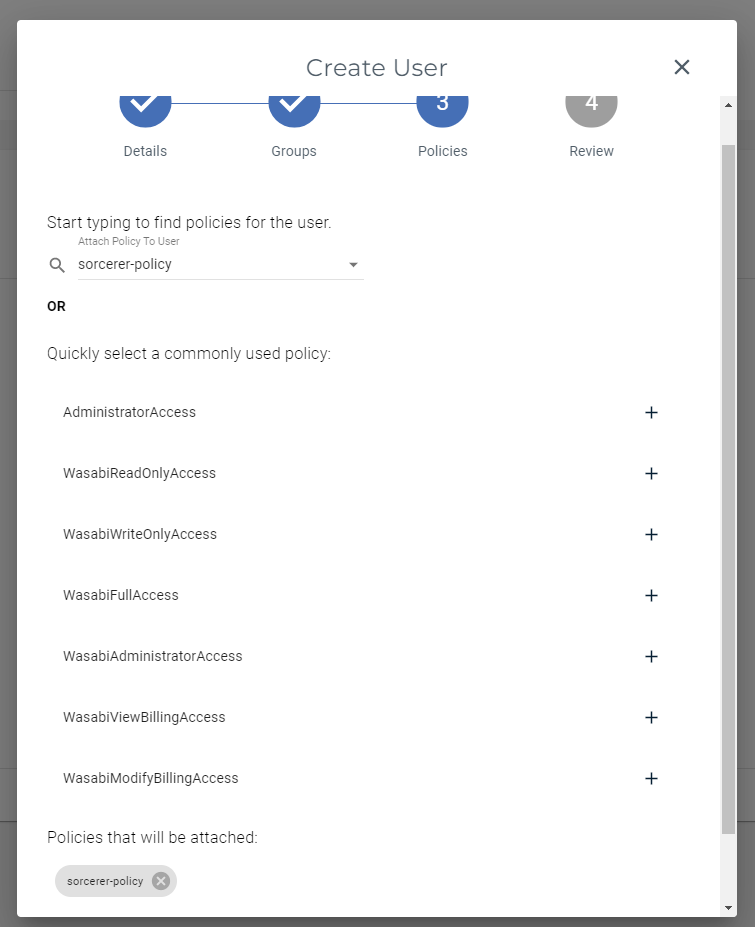
After the policy is created, we can now create a new user. Go to the Users page and click on the "Create User" button. Check the programmatic access checkbox and attach the policy we created up above.
Once the user is created, it will generate an access and secret key. Use these to create Sorcerer connection.
If you feel like we are missing integration with an S3 compatible storage platform, let us know.